
There have been many teachers over the years that have touched our lives in a unique way. Especially the elementary teachers who spend so much time with my girls, sometimes more time than I am able to. Every time the end of the year comes and every Christmas I am always digging up some creative ways to express our appreciation for them. While my two older daughters no longer bring presents to their teachers, I still have one little munchkin who enjoys this tradition. This year may very well be her last one, as sixth grade will bring teacher changes for each class.
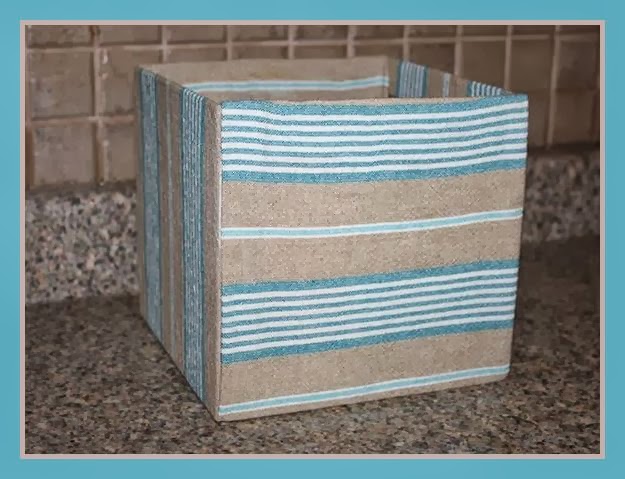
 This year we came up with the idea to celebrate our teachers with a special "kit" full of items that they might use or need throughout the day. As an avid Pinterest follower, I knew I could find a whole array of ideas on the web. At first glance this is what I found...an adorable little basket filled with items the teacher might use through out the year. I love how the crafter used ribbon, tissue paper and a sweet little label to dress it up...definitely cute!


Then, I came across this neat idea that organized all of the items into neat little compartments. The front was labeled with the teachers name and the inside over included a note from the child. This fishing tackle type box got me thinking about actual first aid kits and how important and convenient it is to have them along.
I started toying with the idea to make the kits geared more to a teacher's personal needs rather than her school supply needs. What working woman wants an extra supply of tacks? Wouldn't she love to have an extra stash of lip balm or lotion for those days when nothing seems to be going right. Ah-ha! I've got it....
THE BAD DAY SURVIVAL KIT !
My idea is to fill the "kit" with every imaginable thing a teacher could need on a day that isn't going as perfectly as planned. Hopefully I will also be able to develop some type of cute phrase aor quote to go along with each item to share how each item might help. Here are a few of my ideas.
- hair bands - for the days you feel like pulling your hair out
- band aids - for the days everything you touch becomes a double edge sword
- lip balm - for the days you must repeat yourself 20 gazillion times
- hand sanitizer -for the days you feel like washing your hands of this job
- pain relief - for the days the sounds of 25 pairs of feet sound more like a 25 car train
- tissues - for the days you should've taken a sick day, but could never leave all your work to a substitute
- sewing kit - for the days you are becoming un-stitched at the seams
- nylons - for the days when a "run" can't stop the race you must keep up with
- lotion - for the days when the school furnace will not turn off and has sucked every ounce of moisture out of you
- throat lozenges - for the days you must continue to use your voice even though your throat feels like it been stung by a million bees
- Hershey's Kisses - for the days you need to be reminded there are sweeter things in life
- Fabric Stain Pretreatment - for the days when the dry erase marker decides that you are the perfect person to explode on
- nail file - for the days your students needs a soft pat on the back, not a scratch from a jagged finger nail
- etc.
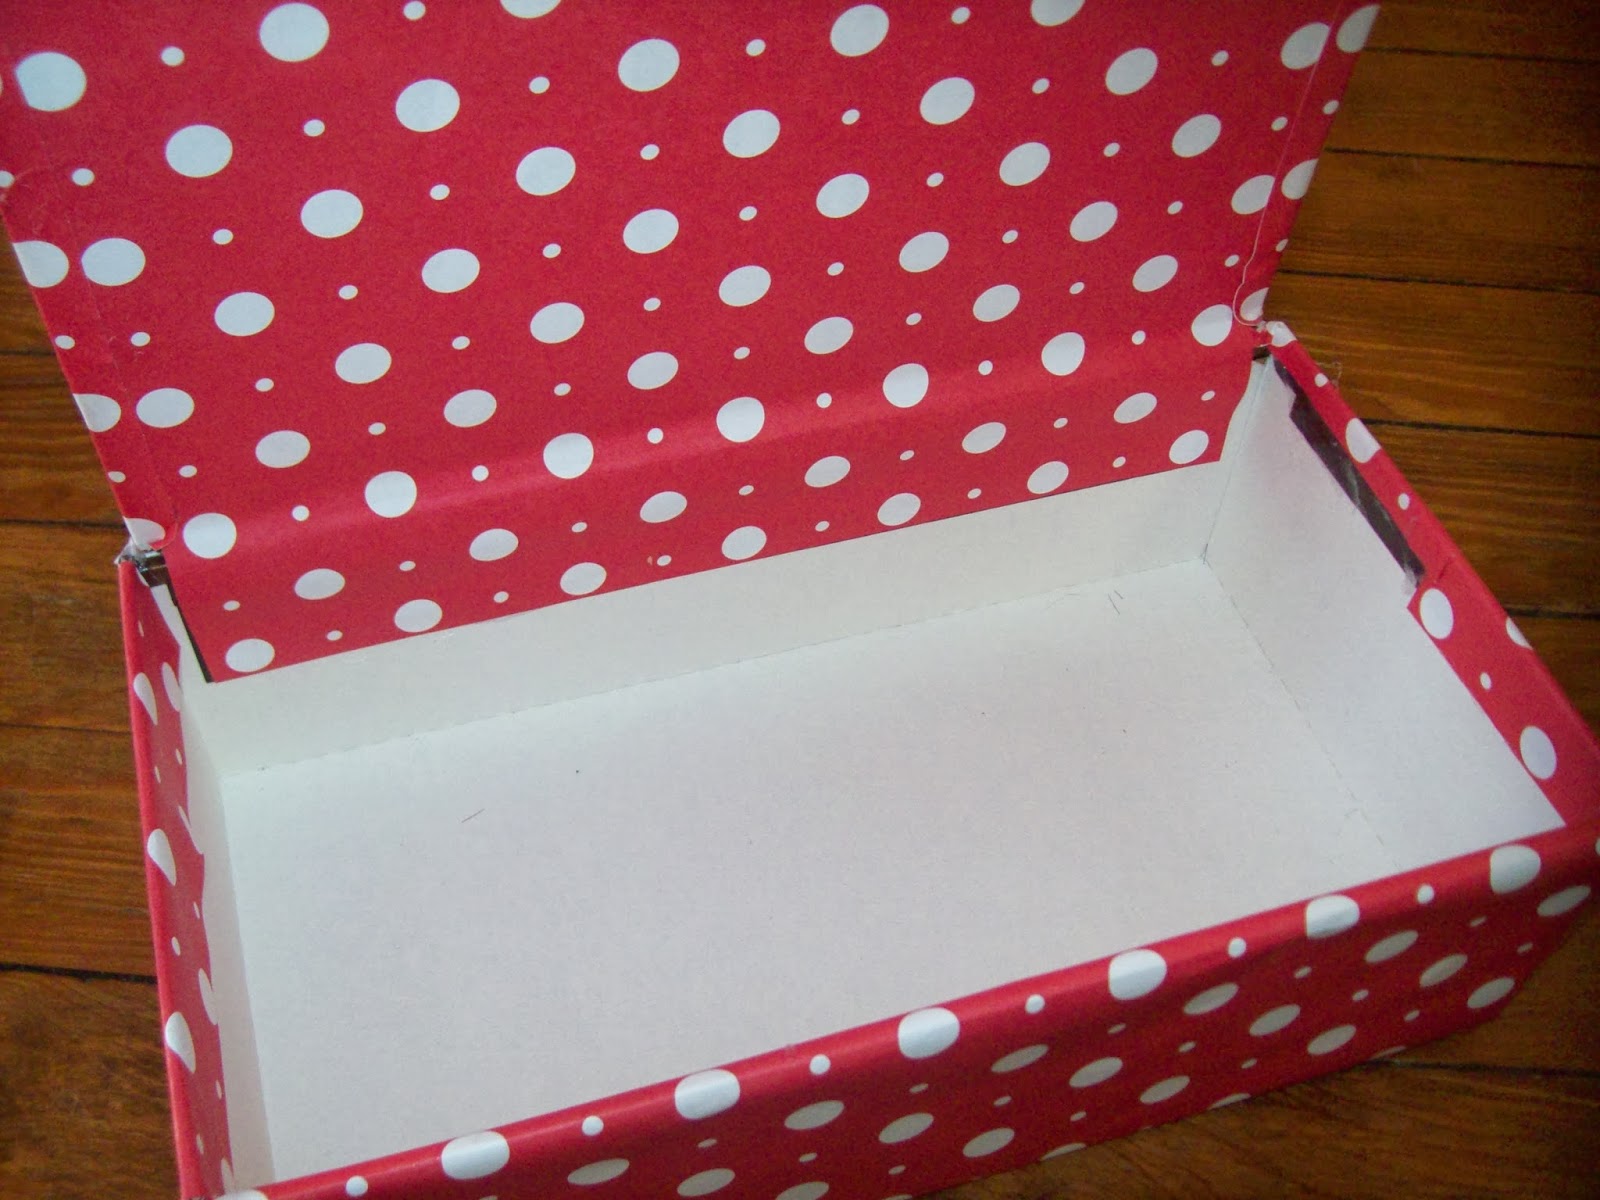
The first thing I did was collect some boxes that could be covered with scrapbook paper and had an attached lid. These cigar boxes worked out perfectly and thankfully my Uncle saves these for family members who might need them.
 Next, my daughter and I chose some scrapbook paper. We ended up using two full 12" by 12" sheets for each box. We used glue stick and touches of hot glue to the box. We covered every area that had the brown cigar label.


Then we attached a ribbon around the base of the box and around the lid.

I printed and cut out a decorative label and black background paper and wa-la!

These were a BIG hit! Teachers loved them and put them right into their classroom desks.
- tissues - for the days you should've taken a sick day, but could never leave all your work to a substitute
- sewing kit - for the days you are becoming un-stitched at the seams
- nylons - for the days when a "run" can't stop the race you must keep up with
- lotion - for the days when the school furnace will not turn off and has sucked every ounce of moisture out of you
- throat lozenges - for the days you must continue to use your voice even though your throat feels like it been stung by a million bees
- Hershey's Kisses - for the days you need to be reminded there are sweeter things in life
- Fabric Stain Pretreatment - for the days when the dry erase marker decides that you are the perfect person to explode on
- nail file - for the days your students needs a soft pat on the back, not a scratch from a jagged finger nail
- etc.
The first thing I did was collect some boxes that could be covered with scrapbook paper and had an attached lid. These cigar boxes worked out perfectly and thankfully my Uncle saves these for family members who might need them.

Next, my daughter and I chose some scrapbook paper. We ended up using two full 12" by 12" sheets for each box. We used glue stick and touches of hot glue to the box. We covered every area that had the brown cigar label.


